Due to a possible Canada Post disruption, we have switched to shipping with Canpar. Online orders are still being accepted, but we are unable to ship to PO Boxes, Range Roads, TWPs, or areas where Canada Post handles final delivery.
Free Canadian Shipping over $59 (before tax)! Learn More
Split your purchase into 4 payments with Klarna, online and in-store.
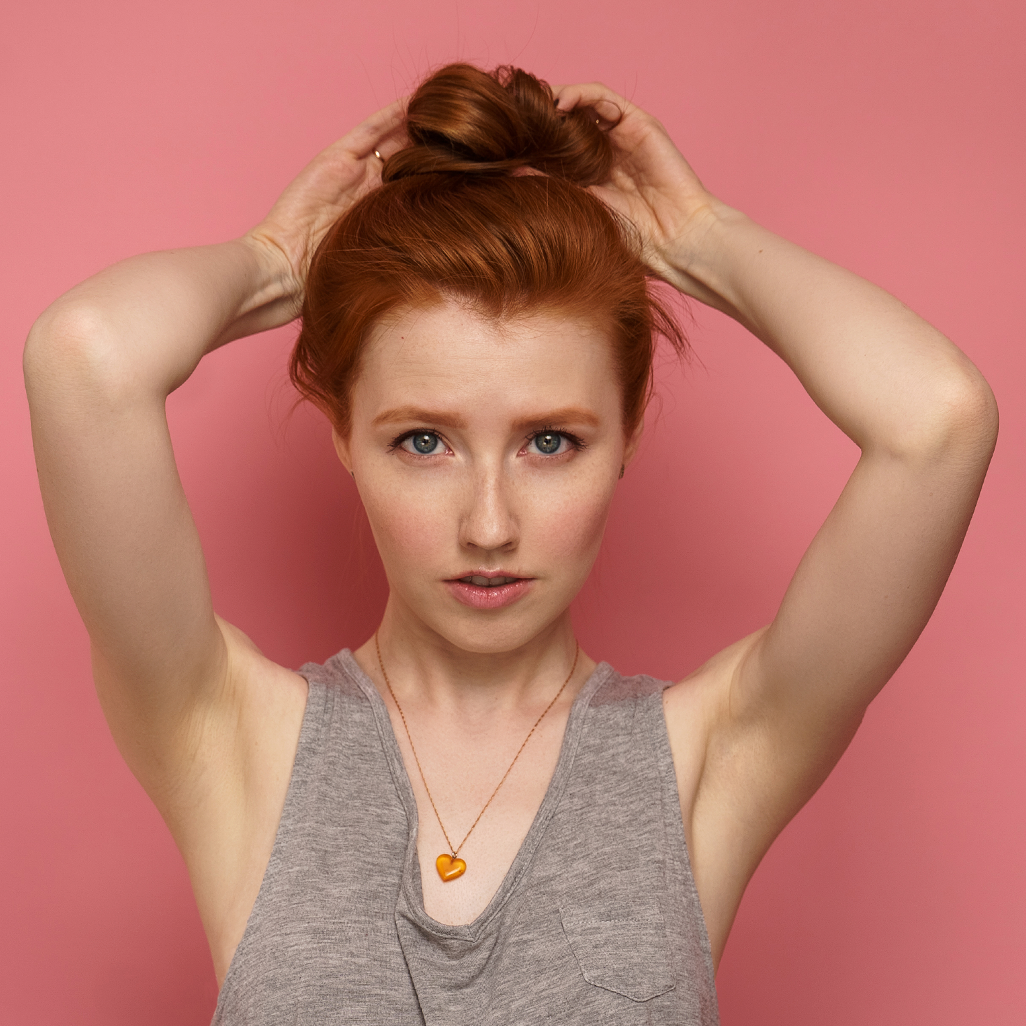
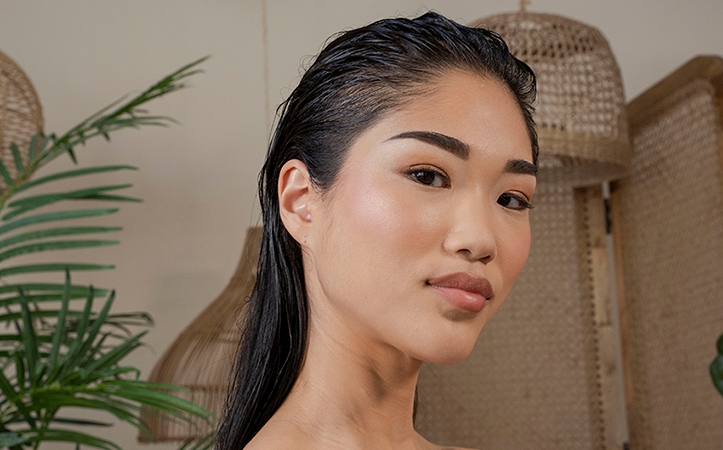
Trying not to touch your face is hard. Experts say that the average person touches their face as frequently as 23 times per hour. That’s 23 times to potentially introduce unwelcome germs into your body. And if you're like me, you probably don’t notice touching your face at all, making it a difficult habit to break.
By being mindful of this habit, I’ve been breaking it with practice. I've found one of the main reasons I touch my face is to brush my hair away or to scratch when my hair is tickling my skin. And while our hair comes in contact with germy surfaces far less than our hands, I would imagine that it would be better if it didn’t touch our faces either for the time being. So I have been finding creative ways to (easily) keep my hair pulled back and out of the way.
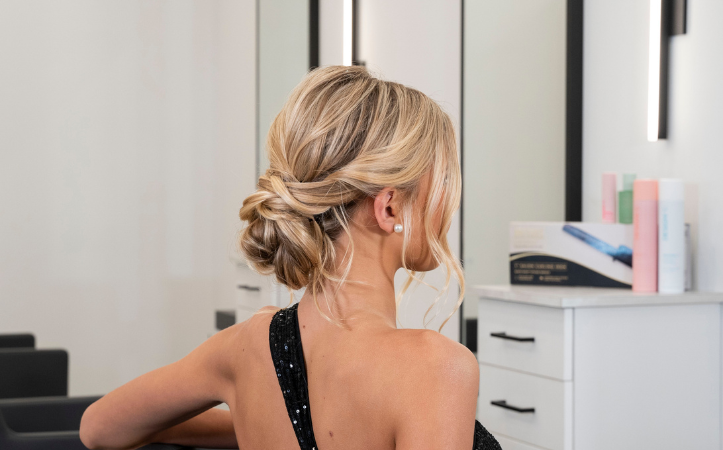
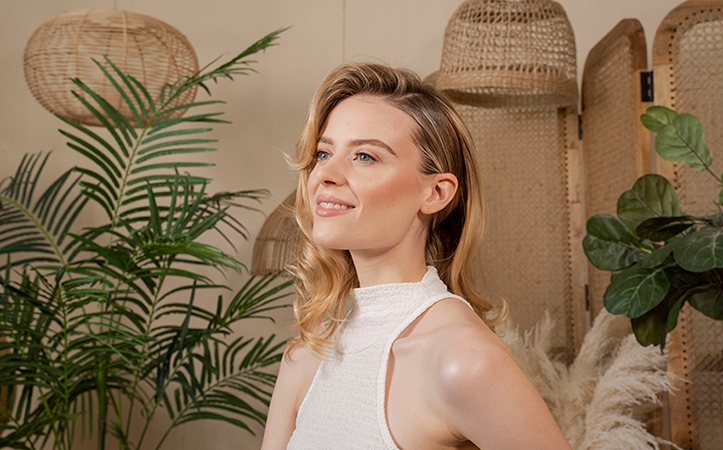
I have gathered some of my favourite "pulled-back hairstyles" that take minimal effort, but still keep me FaceTime ready. I recognize that many people are unable to fully isolate and are still working hard outside of their homes each day. If this sounds familiar to you, easy pulled-back styles are needed now more than ever. Managing a household while getting through the work days has never been more challenging in many cases. Fast, functional fashion isn't just nice-to-have, it’s a necessity!
Tying back longer hair easily doesn’t have to mean a basic ponytail, or even a messy bun. (Not that I am hating on either option – they are both perfectly acceptable and cute!) But there are lots of other options that are just as quick and easy. And with salons having been closed for a while now, your short hair cut might just be starting to grow out to that painful length where bangs are starting to get in your eyes, and layers are becoming unmanageable.
Let’s chat about how to keep those locks out of your face while still looking chic and feeling comfy!
French Twist
This twist is a perfect hairstyle for second or third day hair. The texture helps give it grip and hold!
Spray your hair all over with DesignMe Puff.Me.Lite
Massage it in to distribute the powder through your hair.
Finger rake your hair back loosely and gather it at the back like you are putting it into a ponytail.
Twist the ponytail and pull it up.
Slide the loose ends behind the twist and secure along the crease with bobby pins.
Pull out a few face-framing wisps with your fingertips.
Wear half up, or use this head band as the start of a cool updo!
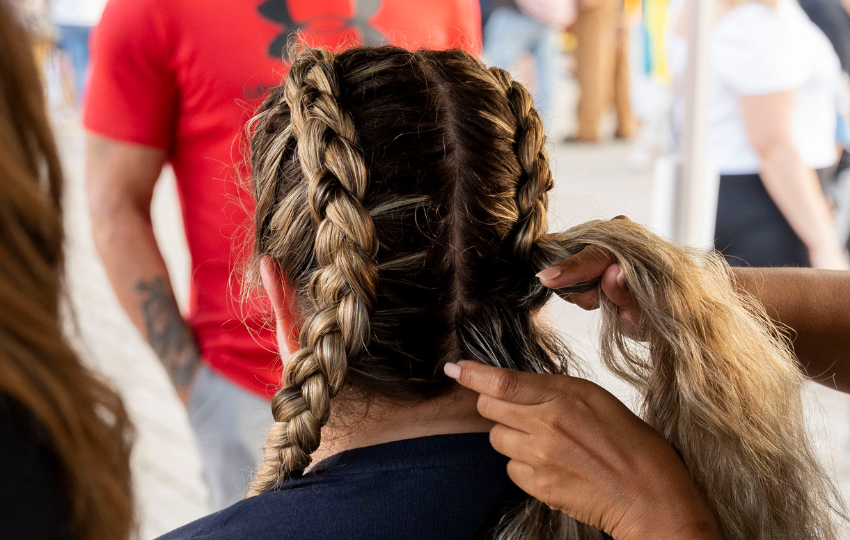
Create 2 sections of hair, one behind your ears, the other in front. Clip away the back section.
Next create 6 (that's right 6!) braids between your ears, over the top of your scalp. You can start your sections by your natural part line or by creating a centre part.
Braid your sections, leaving a couple of centimetres at the end of each braid and fastening with a thin elastic.
UsingDesign.ME Puff.ME, pump product along each braid. This will help with Step 5 and not only give amazing texture, but also help you avoid greasy hair.
Starting from the elastic end, begin lightly pulling out sections of the braid, all the way up to the beginning of the braid. This relaxes the braid, fattening it and giving texture. Next, you can give your braided head band a fun colour, or you can proceed to step 8 if you want to keep it natural. You'll need a towel, sheet or styling cape around your shoulders for the fun part! This will protect your clothes from the coloured hairspray. A small towel can also be used to put under each braid as you spray, to avoid your face becoming part of the design!
With your chosen sprays, colour each braid as you wish. Let each braid dry before moving on to the next. Don't forget to wash your hands once you're done! Check out theKMS Style Color rangeand Kerachroma ColorMeClean Dry Shampoo!
Let your cool braids completely dry before proceeding to Step 8.
You're now going to crisscross the braids, from left to right and right to left, using bobby pins to secure at the ends. Get creative, place the braids where you like them best. Don't worry about any ends that stick up, as you can sort them out after!
Once you're happy with your crisscross look, take out the back section of your hair. You can leave this as a natural look or style as desired.
Spray lightly with hairspray, remembering to touch on the little pieces to hold them in place.
Split your ponytail in 2, with a top and bottom section.
Grab your KB Collection hair scarf & loop around the bottom section of hair, after the hair tie. Remember to keep the scarf lengths even.
Holding one half of the scarf to the bottom section of hair (section 1), bring the other half of scarf up and over top section (section 2).
Holding both sections, begin twisting them together, section 2 over section 1 and so on until you are at the end of your hair.
Secure with a hair tie ....But wait, there's more!
Softly pull any areas of the twist that you want to show more of or make look softer and not so tight (this step is completely up to you and how you like your hair to look).
Begin twisting your hair around your scrunchie/traceless hair tie.
Using bobby pins, pin to scalp to secure in multiple locations.
Try keep scarf ends poking out for an adorable look!
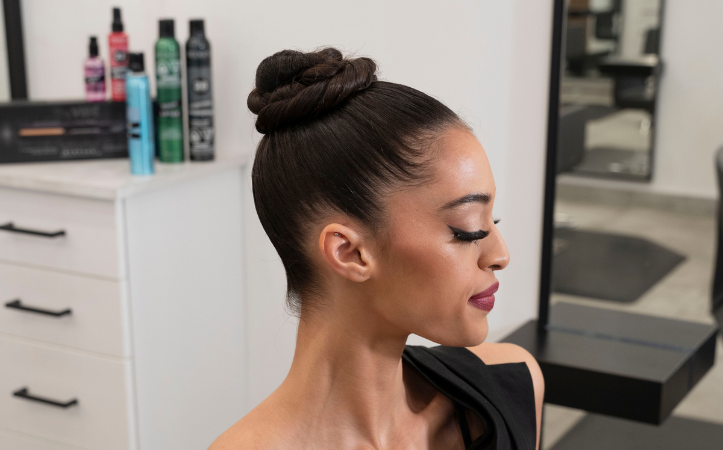
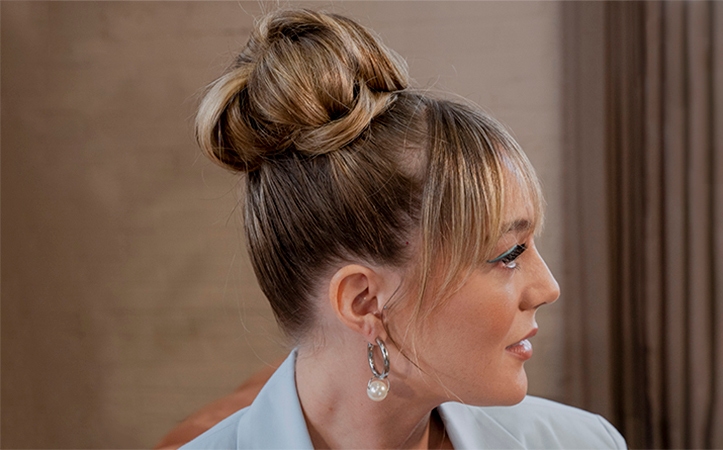
Topknot
Grab a KB Collection Traceless hair tie and gather hair into a high ponytail on top of your head.
Secure with the hair tie.
Twist the ponytail into a bun and tuck the ends into the hair tie. Add bobby pins anywhere that feels loose.
Flyaways? Spritz your fingertips or a comb lightly with hairspray and gently brush over the flyaways to flatten and hold in place. For a buildable finish, with flexible hold and humidity control, Chatters Stylist Angie Hunt recommends Redken Fashion Works 12 Hairspray.
Part your hair in the centre directly above the tie to make a gap.
Feed the ponytail in through the gap from above and pull completely through.
Repeat this, feeding the ponytail through the gap from above as many times as you need.
When you have reached the end of your ponytail, pin in place with bobby pins.
Layered Scrunchie Faux Hawk
Gather a small section of hair at the front of your head, approximately 3 inches square. Secure with a scrunchie.
Under the first section, gather another section approx 2 inches square and add the ponytail from the first section. Secure it with a scrunchie.
Under the second section gather a third section approximately 2 inches square and add the ponytail created from the second section. Secure it with a scrunchie.
You can stop there for a half up look, or keep going down the full length of your hair!
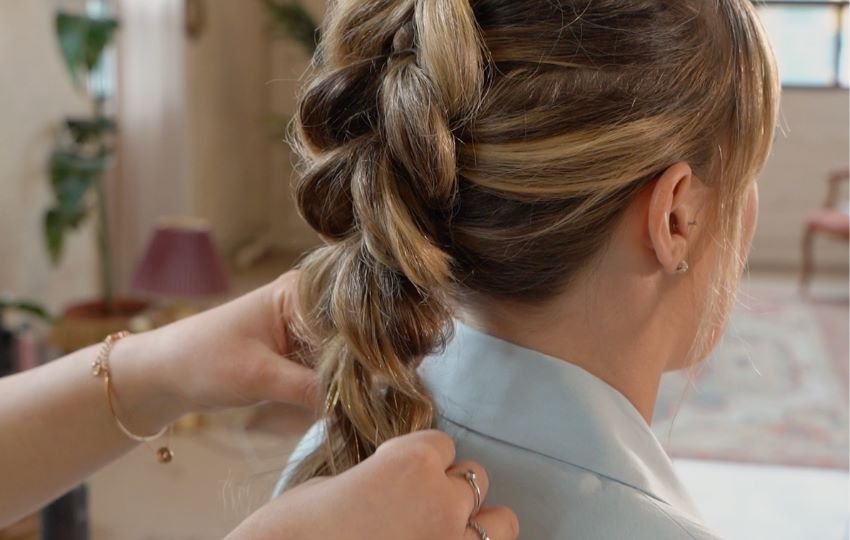
Faux French Braid
Great for medium or long hair!
While a French braid is another perfect way to keep your hair pulled back, if you have not yet mastered a French braid, try this easy "faked" version!
Tie back 2 sections of hair, 1 on top of the other, and secure with small elastics.
Wrap the top ponytail hair around the bottom ponytail and hair tie with an elastic, grabbing a bit more hair for the new sections.
Repeat all the way down to the nape of your neck.
High Ponytail
Section out your bangs, or the front part of your hair.
Gather hair into a high ponytail, around the crown of your head.
Using a KB Collection Traceless Hair Tie and 2 bobby pins, insert the bobby pins into the hair tie one on each side. Insert one bobby pin into the base of the ponytail and wrap the pony with the hair tie until it is nice and tight. Inset the other bobby into the ponytail to secure. This makes a nice bouncy ponytail.
Spritz with hairspray and smooth any flyways.
Backcomb the ponytail slightly to give a little extra volume.
Brush back the bang section and pin in place with pretty embellished pins.
Braids, Braids, Braids!
Braids of any kind are a great way to tuck all those little loose ends back and they're also super cute. The best part? You can rock just one, or multiple, whatever you're feeling! If you find your hair is hard to work with, try giving it a bit of grit and texture with a spritz of Puff.ME texture powder.
This braid is SUPER easy! Try this tutorial!
If you can tie your shoe, you can do THIS braid!!! It is only two strands tied together in a knot, again and again!
Pick up a section from either side and tie tight on wet or dry hair. If you decide that the right side is crossed over the left, keep that consistency.
Continue the knot braid by knotting until you reach the end of the hair and then secure it with an elastic. Pin in place with crisscrossed bobby pins on the ends.
Finish this style off with Unite Second Day – use this on dry hair as it works great for updos. Bonus tip: use an old, clean toothbrush to calm flyaways.
Before creating the braid, Angie used Unite Lazer Straight Shampoo & Conditioner. Why? It gives weightless shine, is colour safe and tames frizz. Then she worked Unite U Oil through the damp strands to reduce blow drying time, extend colour life and provide thermal protection.
Styled by @angie_hunt_
Get creative and use braids to jazz up a ponytail or bun! They are a great way to keep finer, shorter hairs around your face tied back.
Keeping Short Hair in Line
Keep shorter styles from falling into your eyes with pomade or paste. This dry shampoo paste from Redken works as a styler with oil absorption to make 2nd and 3rd day hair look fresh with easy, undone texture.
Just work the product in with your hands, scrunching and concentrating on the roots. For extra hold spritz with hairspray lightly.
Bangs
For bangs that don't tuck behind your ears, or aren't quite long enough to put up into a half-up style, accessorize!
Bobby pins, clips, headbands and hair scarves are all your friend! Here are some fun ways to keep bangs pulled back and out of the way.
While these hairstyles won't keep you from biting your fingernails, rubbing your eyes, or leaning on your hand, hopefully they will help by keeping your hair pulled back and out of the way. Remember to keep your hands clean and practice, practice, practice not touching your face until it becomes a new habit.
Stay safe, stay healthy and stay kind.
About the author
Lorie Knickle
Beauty Blogger, Graphic Designer, Lover of all things pretty and all-in-one hair treatments.