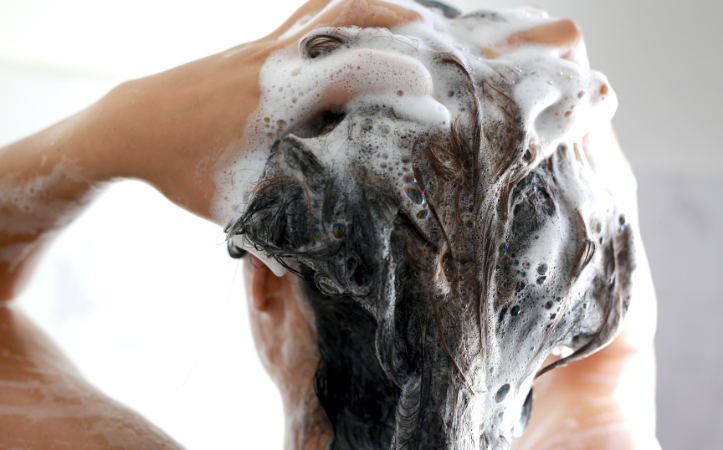
Amazing line-ups, dynamic bass lines, ponchos, unique fashion, outhouse lines and smiles for days....it must be festival season!! But what about festival hairstyles? Let's be honest, how many times have you seen someone else's cool braids and had serious envy and vowed to try something different next time? Then you're stuck with the question: "how do I do festival hair?" Well, we have you covered with some unique styles involving scrunchies and coloured hairspray! Exciting, right!? We'll cover how to avoid greasy hair at a festival all while getting cool braids that will last the day of dancing.
Cindy Duplantis, one of our expert stylists, is about to show you how to do your hair for a festival! So, let's get Coachella ready!
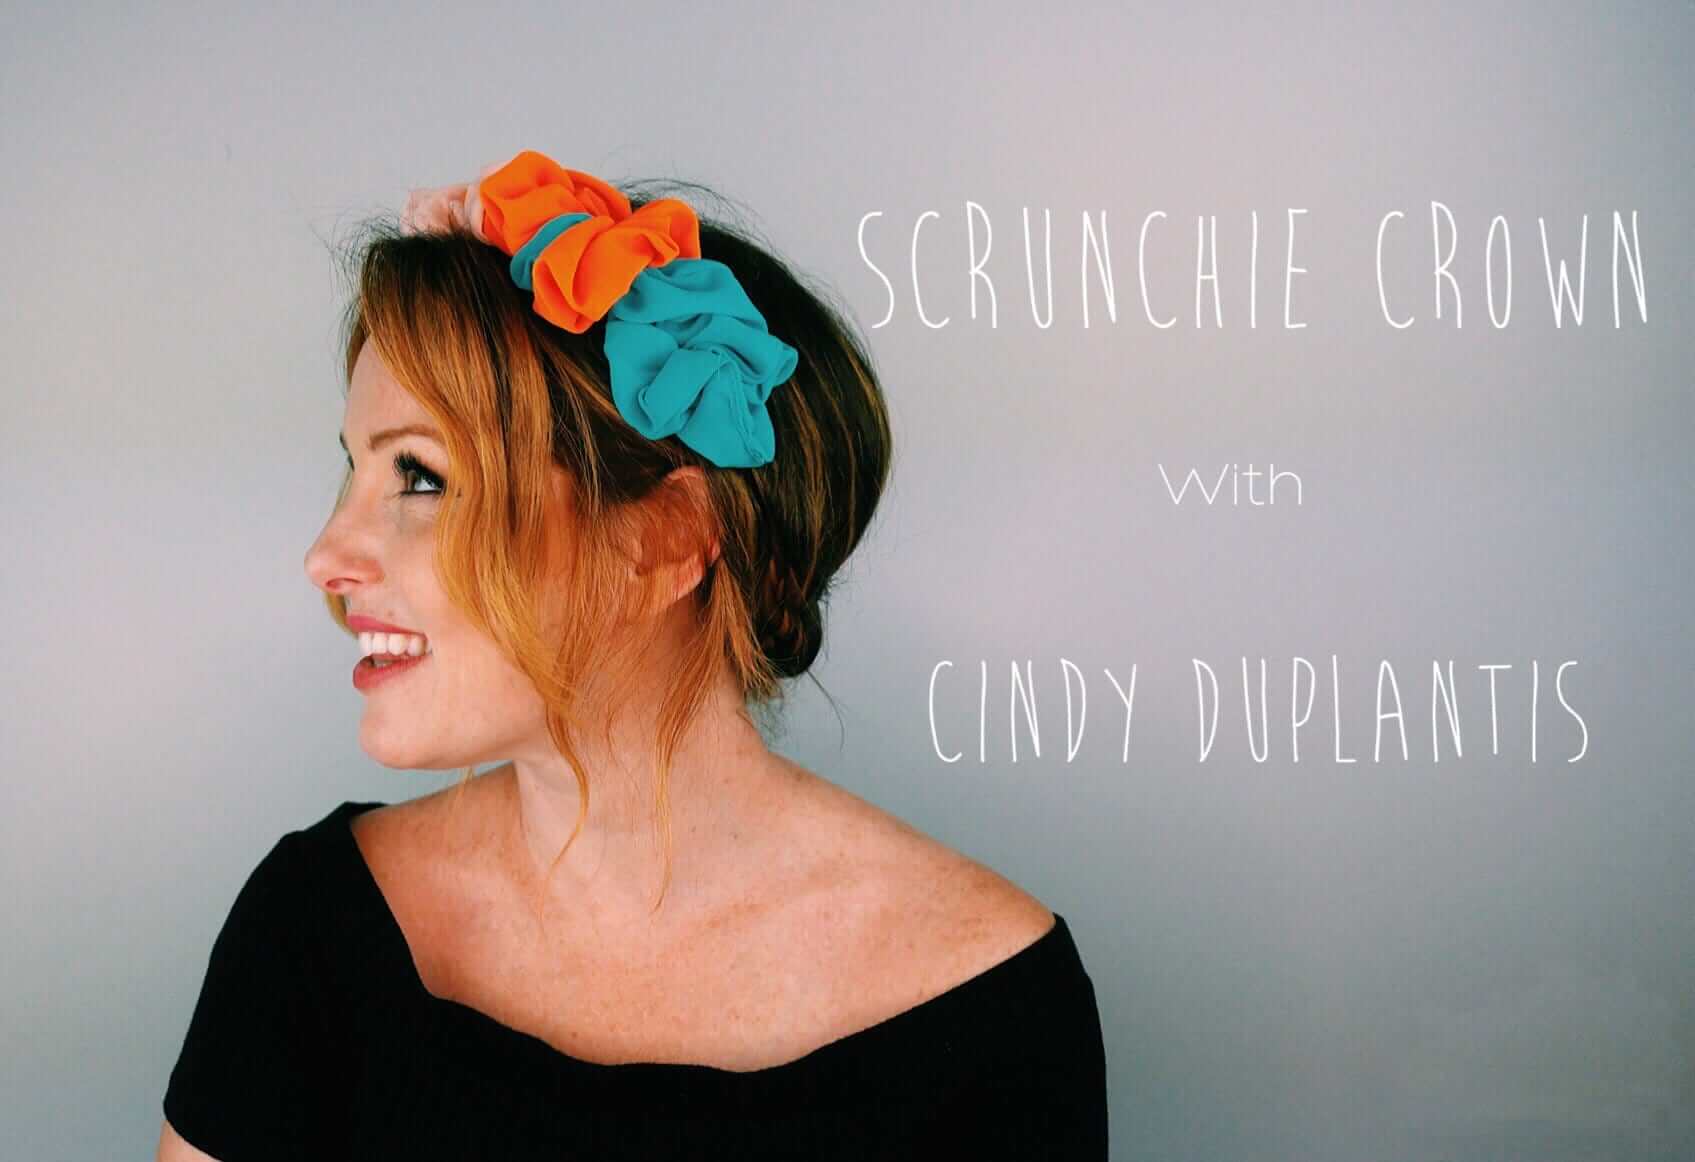
Scrunchie Crown
Who else is loving the 90's being back? Scrunchie fever is #goals! So, let's change up the whole flower crown and cool braids trend and allow the beloved scrunchie reign! Our KB Scrunchies are your plus 1 to any festival this season! And just a tip: the scrunchies won't wilt and die! You're winning already!
- Split your hair in 2 sections from the front to the back. Using either your fingernail or the end of a comb, make a front part and as you get to the back of your head, begin zig zagging the rest of the way to your neck.
- Clip one section away, to easily work on the other.
- You're now going to create a 3 strand braid, going UNDER, as opposed to over! Say what?! Before you do this, decide if you want to leave some hair out at the front for a softer look. Fasten the braid with an elastic about 2cm from the end of the hair.
- Repeat step 3 on the other side. Hello school girl pigtails!
- Take the Design Me Puff Me Lite and pump along the braid. This will help with hold and texture for Step 6!
- Lightly pull out the braid starting at the elastic end to the beginning of the braid.
- Grab your KB Scrunchies and begin looping them together like a chain. For explanation purposes, say you have blue and orange scrunchies, you will thread the orange scrunchie halfway into the hole of the blue one. Grab the part of the orange that is halfway through the blue and loop it through the orange section that is on the other side of the blue scrunchie. Pull the orange section you just threaded through and the two scrunchies will be linked. Repeat with your other scrunchies! Check out Chatters various KB Scrunchie range here!
- Using a bobby pin, attach it to the end scrunchie on one side of your chain. Repeat for the other side. If you lay your scrunchie chain down, the bobby pins will stick out horizontally on each end.
- Criss cross your 2 braids to create a milkmaid braid (crossing over and up to be behind your ears). Secure with bobby pins.
- Take your scrunchie chain and stretch it as big as it can get. Place it along your hairline and slide the pins to secure. Using extra bobby pins, cross over the pins that are connected to the scrunchies.
- Ok, beautiful! It's festival time!
One of our stellar stylists, Cindy Duplantis, shows this cool Coachella hairstyle here on YouTube!
Coloured Festival Braids
A hair crown? Say what?! Whimsical, yet textured, this festival hairstyle can be amplified by using coloured hairsprays and even glitter! And we even have a trick to avoid greasy hair at a festival, too! So, what are you waiting for, let's get braiding!
- Create 2 sections of hair, one behind your ears, the other in front. Clip away the back section.
- Next create 6, that's right 6 braids between your ears, over the top of your scalp. You can start your sections by your natural part line or by creating a centre part.
- Braid your sections, leaving a couple of centimetres at the end and fastening with a thin elastic.
- Using Design Me Puff Me, pump product along each braid. This will help with Step 5 and not only give amazing texture but it will help you avoid greasy hair at your next festival.
- Starting from the elastic end, begin lightly pulling out sections of the braid, all the way up to the beginning of the braid. This relaxes the braid, fattening it and giving texture.
Don't worry, we're not done yet! You will not be a funky poodle for too much longer!
**You will need a towel, sheet or styling cape around your shoulders for the fun part! This will protect your clothes from the coloured hairspray. A small towel can also be used to put under each braid as you spray, to avoid your face becoming part of the design! - With your chosen sprays, colour each braid as you wish. Let each braid dry before moving on to the next. Don't forget to wash your hands once you're done! Check out the KMS Style Color range and Kerachroma ColorMeClean Dry Shampoo!
- Let your cool braids completely dry before Step 8.
- You're now going to criss cross the braids, from left to right, using bobby pins to secure at the ends. Get creative, place the braids where you like them best. Don't worry about any ends that stick up, as you can sort them out after!
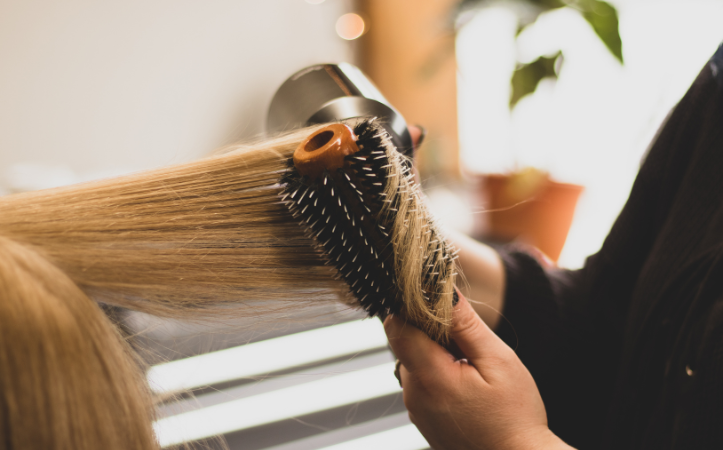
- Once you're happy with your criss cross look, take out the back section of your hair. You can leave this as a natural look or style as you desire.
- Spray lightly with hairspray, remembering to touch on the little pieces to hold them in place.
Now you know how to do festival hair, let's take cool braids to the next level! Your Coachella hairstyle can get even cooler by adding the following touches:
- Add 4 more braids at the back, 2 on either side below the ear.
- Follow steps 3 - 8 then cross around the back of the head, fastening with your bobby pins. Finish with hairspray and voila! You are festival ready!!
Want the visual on these cool braids? Want to see how to do your hair for a festival? Watch the full YouTube tutorial here!